SmartenApps for Tally Desktop App Installation and Configuration Guide
It only takes a few minutes to get started! Install SmartenApps for Tally and enjoy all the benefits of analytics in moments with seamless login and registration! Follow these simple steps to install SmartenApps for Tally. And, please don’t hesitate to contact our Support Team if you need assistance.
What Tally Versions and Devices Does SmartenApps for Tally Support?
- Compatible Mobile OS Versions for Mobile App Access
- Apple iOS - iOS 8.x and above
- Android - Android 6.x and above
- Compatible OS for Desktop App
- Windows 10 and all future versions
- Compatible Tally Versions
- Tally ERP 9 - release 5 and above
- Tally Prime – You need to enable connectivity by going into Exchange -> Data Synchronisation – Client / Server Configuration
How to install and configure desktop app (For First User in the Organization):
- Step 1: Download SmartenApps for Tally Desktop App installer
URL For Desktop App Utility : SmartenApps For Tally - Desktop Utility
- Step 2: Run installer and follow the instructions
- Step 2.1: Follow the wizard-based steps to install the app on a desktop that is running Tally software.
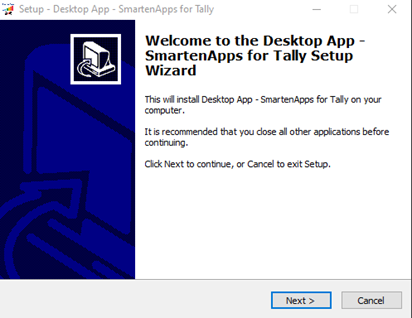
- Step 2.2: When you see the Welcome screen of SmartenApps for Tally – Desktop Utility, press the ‘Next’ button
- Step 2.3: By default, the system will choose the system drive (Program Files). However, you can choose any other location or drive for installation
.Note: The system drive requires user permissions. To avoid this permission issue, install SmartenApps for Tally – Desktop Utility on a non-system drive (e.g., **D:, F:**, etc.), and then press the ‘Next’ button.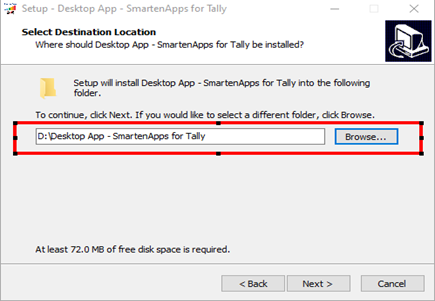
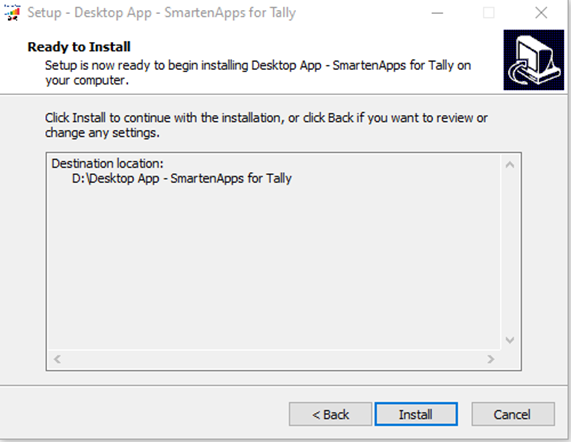
- Step 2.4: When the system prompts ‘Ready to Install’, press the ‘Install’ button.
- Step 2.5: The system will display a ‘Successful Installation’ screen.
- Step 3: Upon successful installation, you will see SmartenApps for Tally Desktop App on your desktop
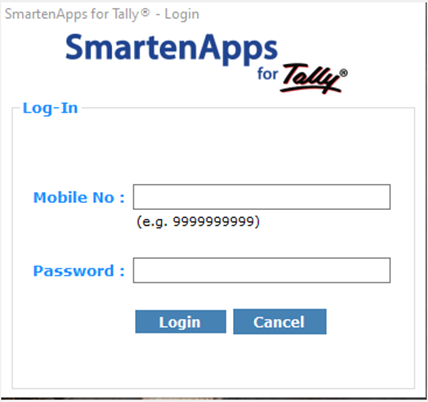
- Step 4: Run Desktop App and login. You can login using the credentials you have given at the time of registration as the first user of your organisation.
- Step 5: Following login to desktop app, you will be directed to the Home Page of SmartenApps for Tally
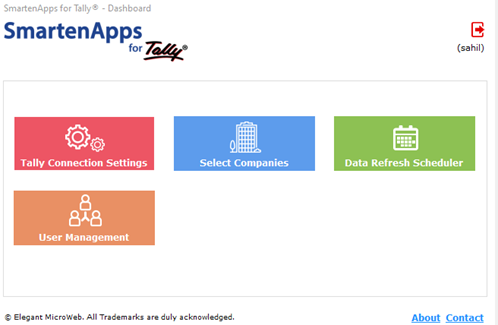
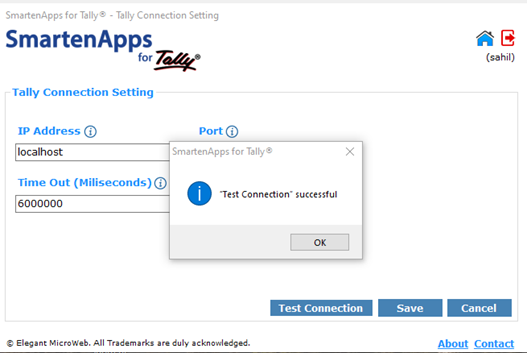
- Step 6: Click on “Tally Connection Settings.,” and enter the IP Address, Port and Timeout parameters

- Step 7: Be sure Tally is running on the desktop for the IP Address and Port you selected. Press the Test Connection button. Upon successful connection, press the Save button.
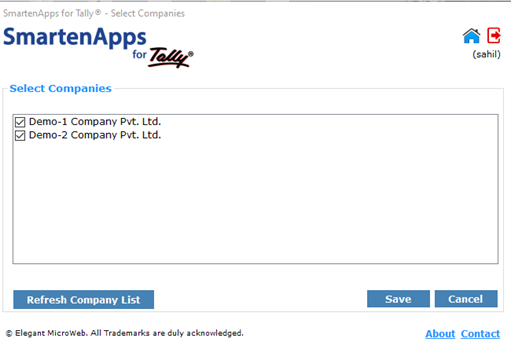
- Step 8: Click on Select Companies. The system will list the companies configured within your Tally installation. Choose companies for extraction. Then press the Save button
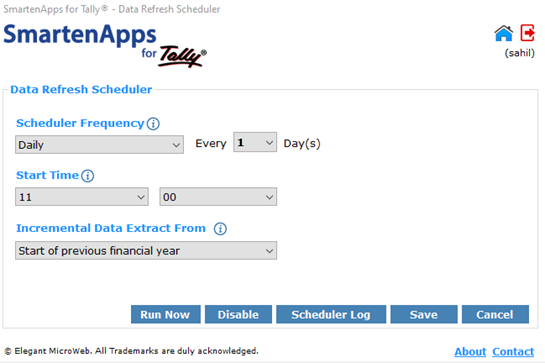
- Step 9: Click on Data Refresh Scheduler to set up your data extraction scheduler frequency, start time, and incremental data extraction from a previous or current financial year, and then press Save.
- Step 10: Click on User Management to manage users, and to assign user permissions at the Tally company level.

- Step 11: SmartenApps for Tally – Desktop Utility will begin to extract data automatically based on the defined frequency established in Step 9 above.
- Step 12: You will be able to see your Tally company data within a few minutes via Mobile App.
Configure the Tally Software :
- Step 1: There are a few settings you must complete within the Tally software to ensure data extraction from SmartenApps for Tally – Desktop Utility. Tally ERP9 users should follow the instructions in Step 2, while Tally Prime users should follow the instructions in Step 3.
- Step 2: For Tally ERP9 Users
Step 2.1:From the Home Page of Tally ERP9, press F12 (Configuration).
Step 2.2: From the Configuration screen, click on Advanced Configuration.
Step 2.3: In the Format of Dates section, change Short Date Format to ‘dd-mm-yy’.
Step 2.4: In the Client/Server Configuration section, change the following settings:
Tally ERP 9 is acting as: Set to ‘Both’
Enable ODBC Server: Set to ‘Yes’
Port: Specify the port (default is 9000)
Step 2.5: Restart Tally ERP 9. - Step 3: For Tally Prime Users
Step 3.1: Click on Help → Settings → Country.
Step 3.2: Click on the ‘Date and Number Format’ option.
Step 3.3: In the Format of Date section, change Year Format for Displaying Dates to ‘yyyy’.
Step 3.4: Click OK, then go to Help → Settings → Connectivity.
Step 3.5: In the Client/Server Configuration section, change the following settings:
Tally Prime acts as: Set to ‘Both’
Enable ODBC Server: Set to ‘Yes’
Port: Specify the port (default is 9000)
Step 3.6: Restart Tally Prime.
How SmartenApps for Tally Works :
The SmartenApps for Tally is founded on elegant, simple and secure technology and architecture.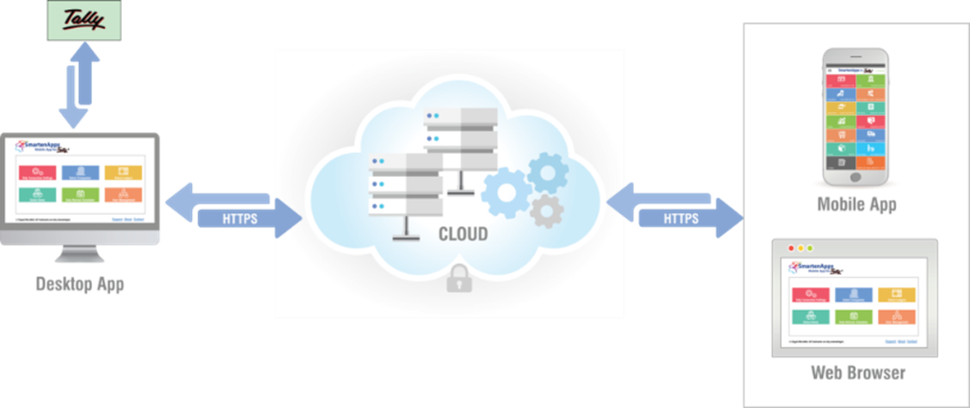
- On-premises Tally installation is connected to the Desktop App
- Desktop App connects to secured cloud server to push data at predefined frequency
- Native mobile app communicates with the cloud server to fetch and display required data, graphs and reports
All interaction and transactions are secure
Was this article helpful?
That’s Great!
Thank you for your feedback
Sorry! We couldn't be helpful
Thank you for your feedback
Feedback sent
We appreciate your effort and will try to fix the article